Traditionally, Astro’s bread and butter has been static-site generation (SSG). Recently, they’ve leaned further into server-side rendering (SSR), opening the gate to building fast, lightweight, fully-functional applications.
You need a database
With any application comes a database, and SQLite is fantastic for small-scale projects. Lucky for you, Outerbase’s free-tier has you covered with a quick and easy solution for fully-managed SQLite.
Setting up Astro for server-side rendering
If you’re a seasoned Astro user or would rather follow their docs, feel free to skip this step.
First, we need to spin up a new Astro project on our local machine. Be sure to enable typescript support, as it will be needed later when dealing with database structure.
npm create astro@latest
Next, let's add React to the project.
npx astro add react
And finally, because we’re building a server-side rendered app, we’ll need to add an adapter. Astro offers a handful of great official adapters. In this case, we’re going to deploy to Cloudflare.
npx astro add cloudflare
With our app set up, run npm run dev to check that everything builds locally.
Creating our SQLite database
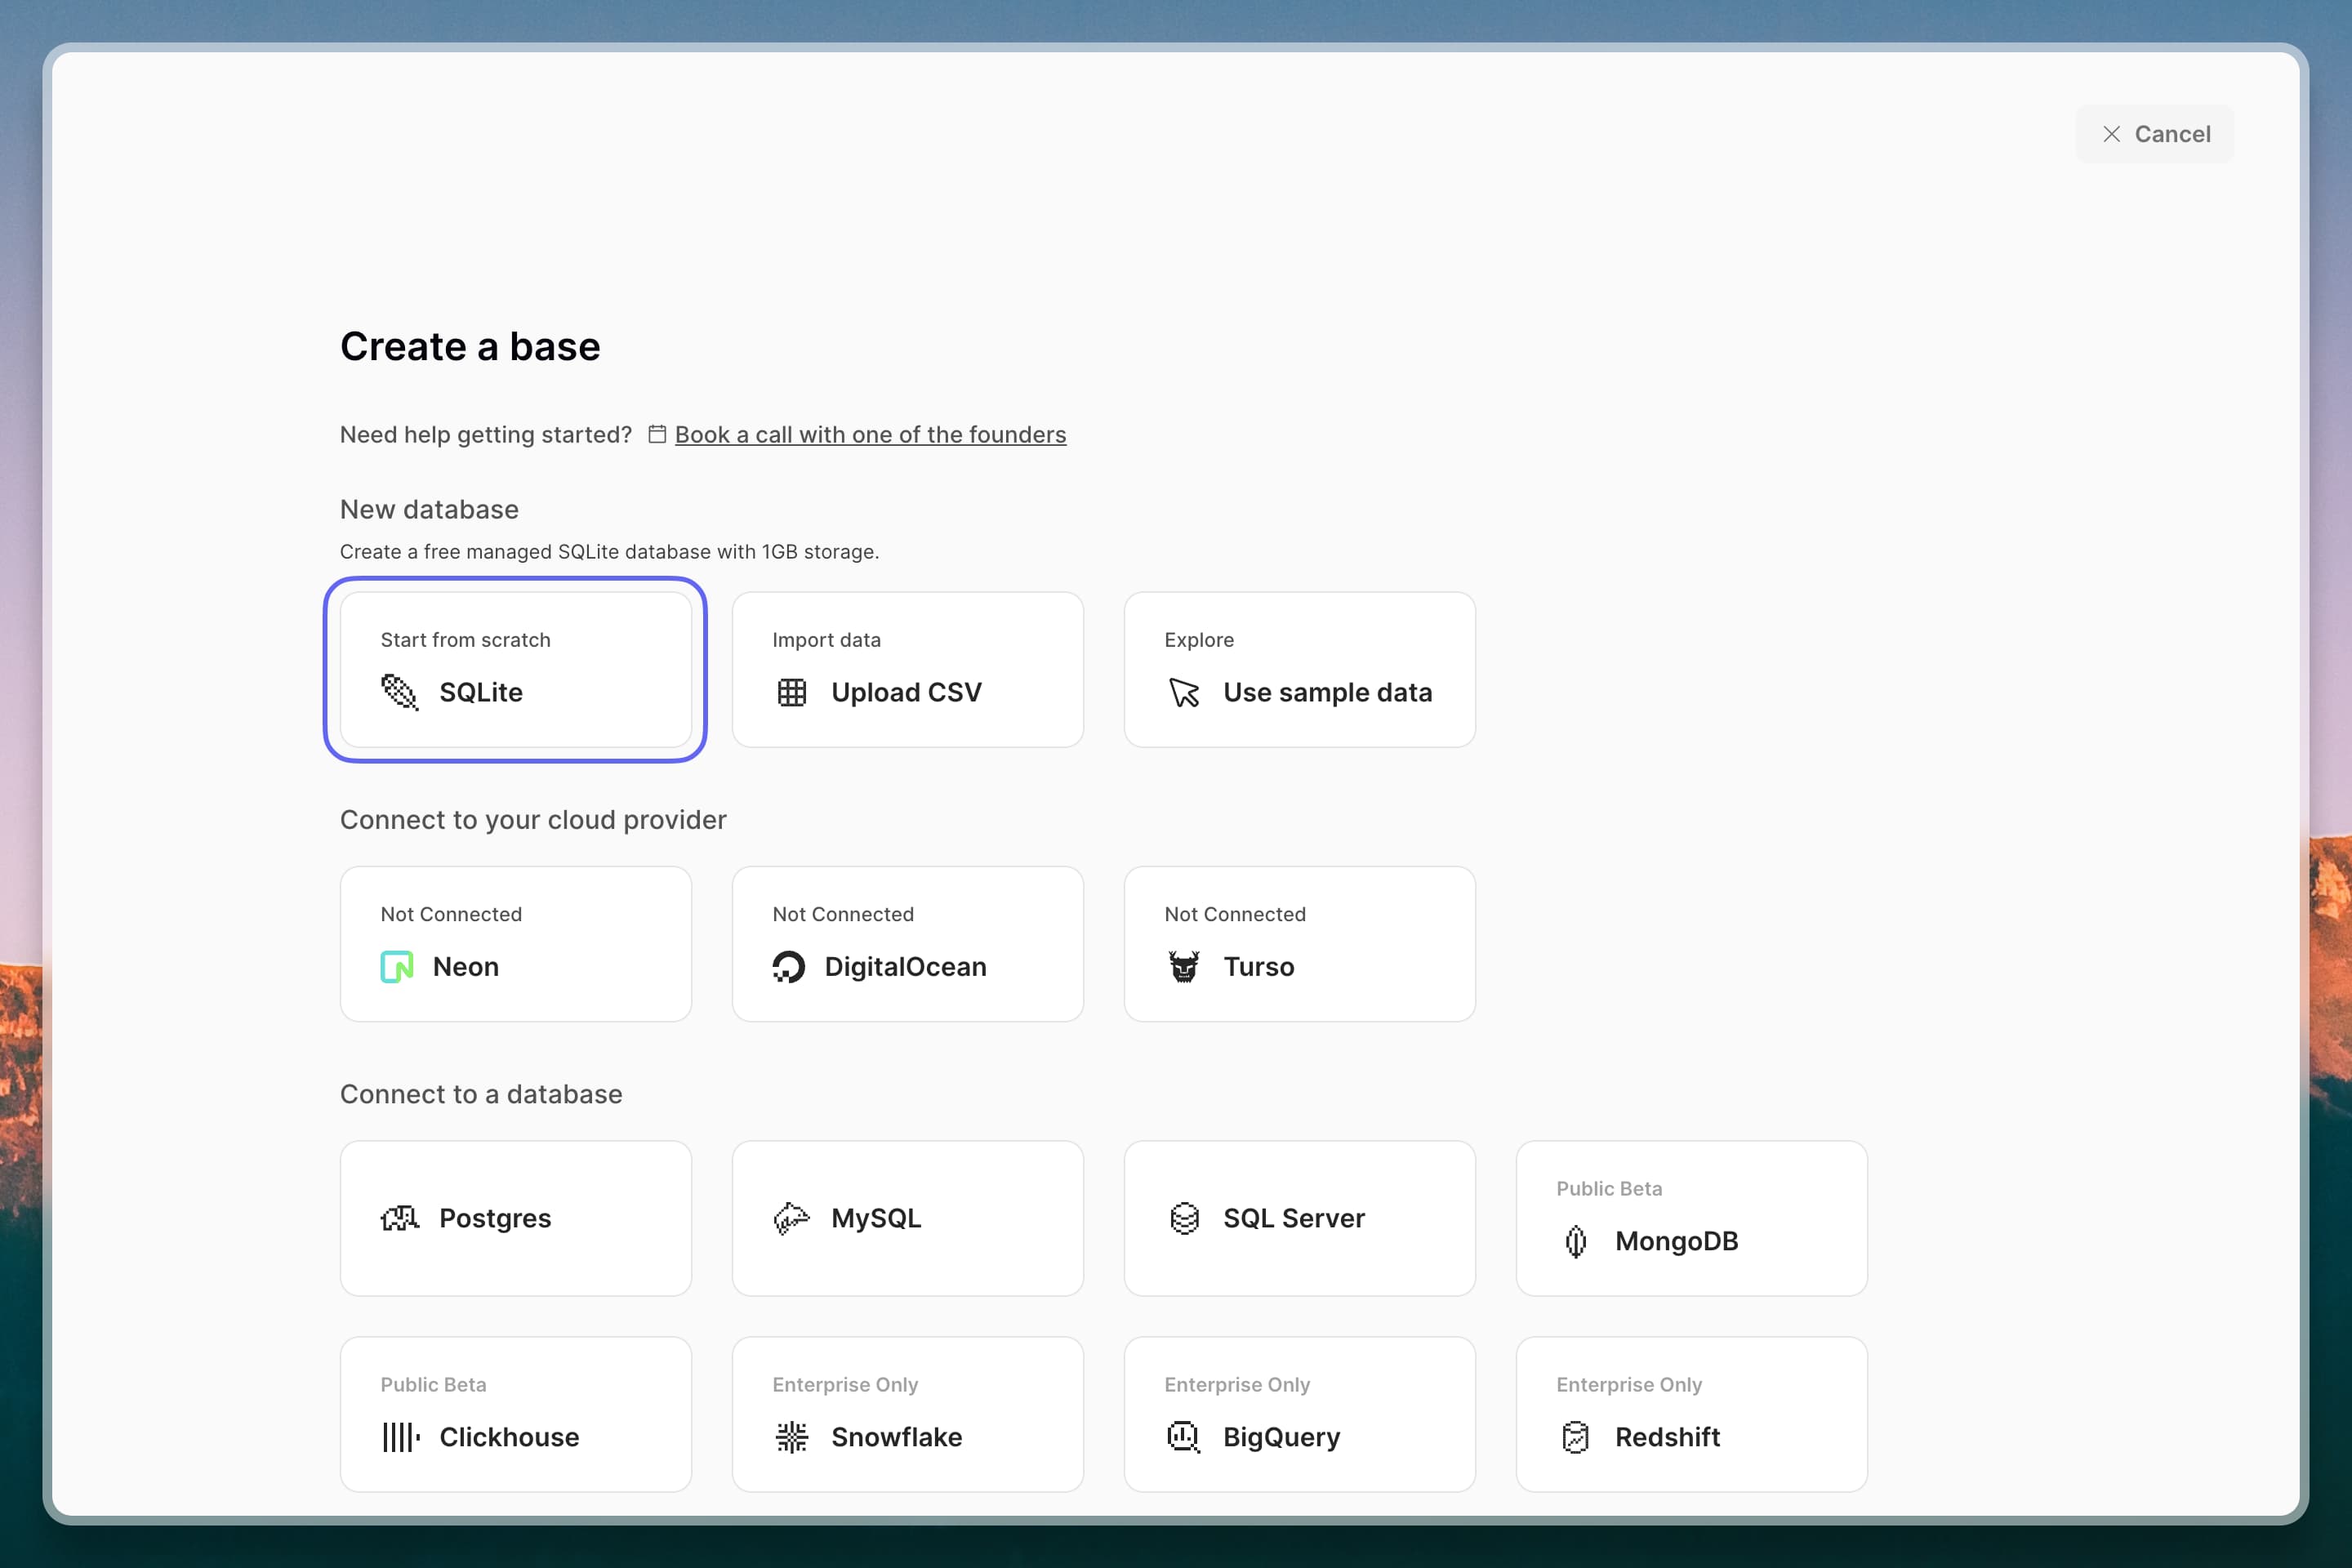
Navigating over to Outerbase, we’ll create a new Base and select the SQLite offering.
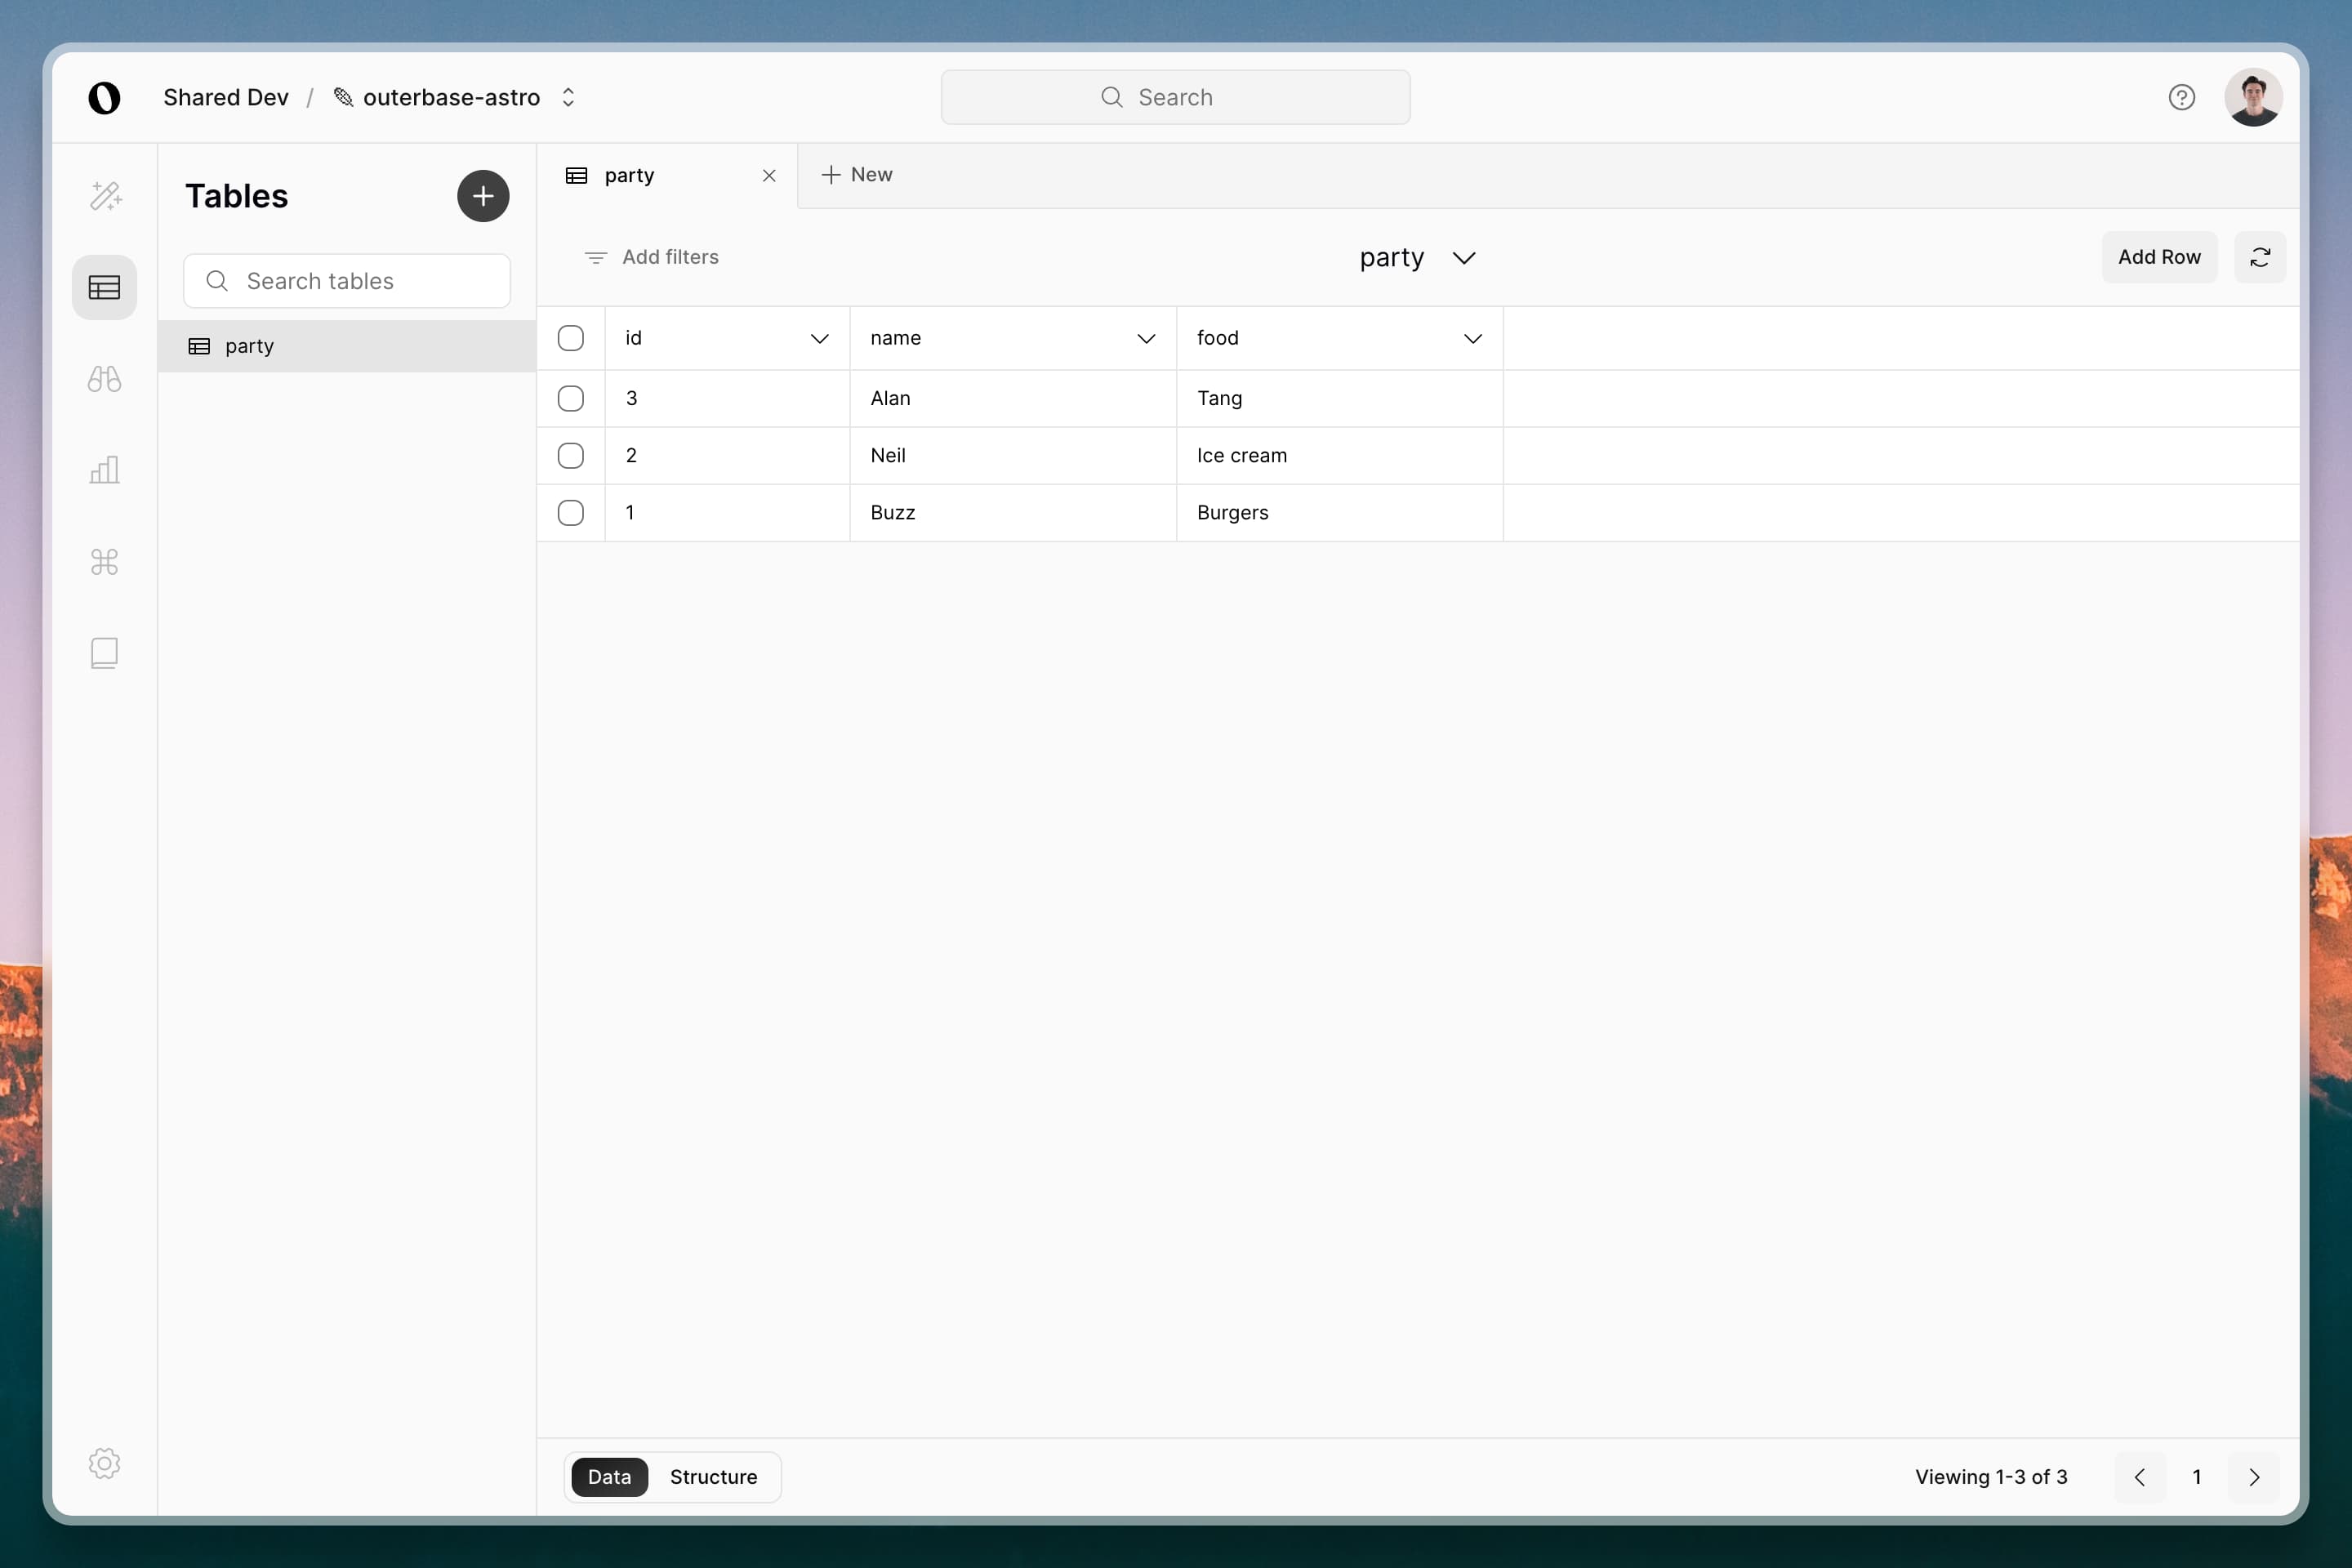
With our new Base created, we’ll add a table with a few basic columns.

Additionally, we’ll add a few rows to the table as a starting place. This way, we'll more easily be able to see data populating in our app.
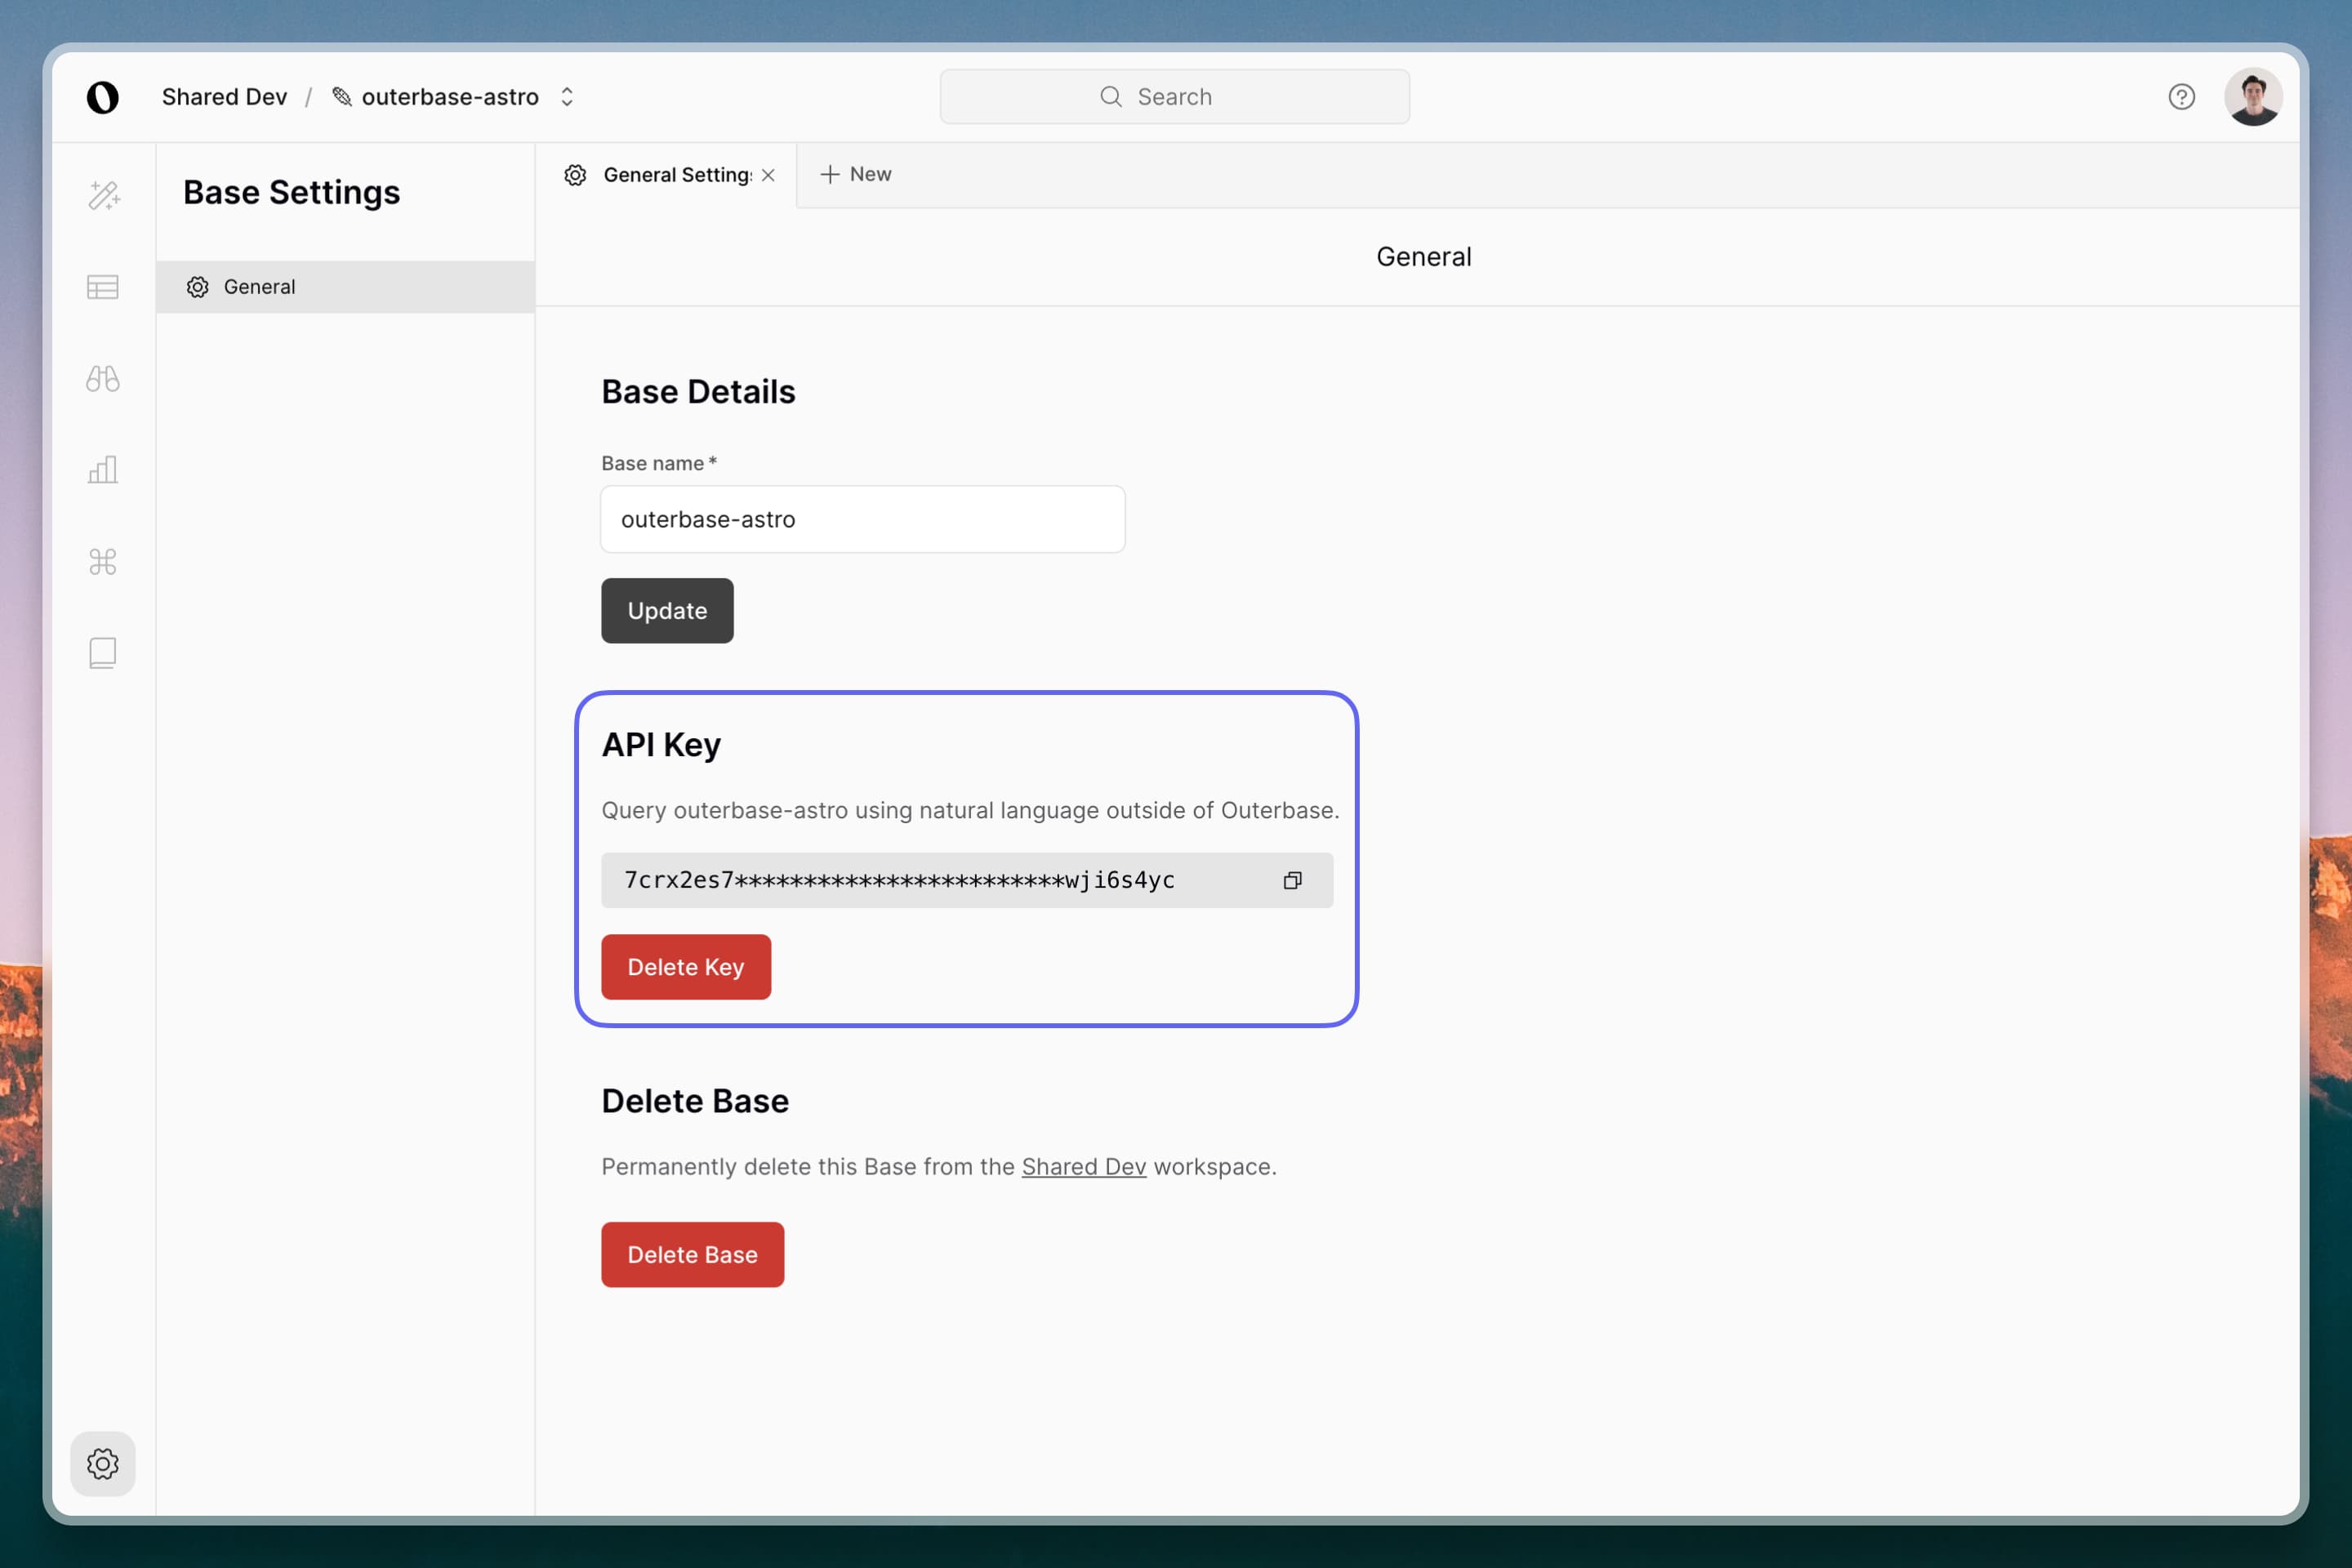
Lastly, we’ll generate an API key in Base Settings. We’ll use this to connect our database to our Astro project.
Connecting our database to our Astro project
Back in our Astro app, we’ll want to install the Outerbase SDK so that our app can talk to our new SQLite database.
npm install @outerbase/sdk
In order for our app to understand the structure of our database, we’ll need to synchronize our local environment with what lives on production. To do that, we’ll add a simple script to our package.json file called sync-models.
// package.json

 "scripts": {
    "dev": "astro dev",
    "start": "astro dev",
    "build": "astro check && astro build",
    "preview": "astro preview",
    "astro": "astro",
    "sync-models": "sync-database-models PATH=./models API_KEY=YOUR_API_KEY"
  },
sync-models takes 2 arguments:
PATHwhich will initialize our database structure in a local folder. For this example, our database models will be created in a folder namedmodelsat the root of our project.API_KEYwhich takes the API key we generated in Outerbase earlier.
Additionally, we need to add 2 options in our tsconfig.json file, experimentalDecorators and emitDecoratorMetadata so type safety with our models works properly.
{
  "extends": "astro/tsconfigs/strict",
  "compilerOptions": {
    "jsx": "react-jsx",
    "jsxImportSource": "react",
    "experimentalDecorators": true, // add this
    "emitDecoratorMetadata": true // add this
  }
}
Now that we have our script set up, let’s run the command and observe as our models generate.
npm run sync-models
This will yield a console output of our database's existing tables.
Generated models for tables: [ { name: 'party' } ]
Models generated successfully
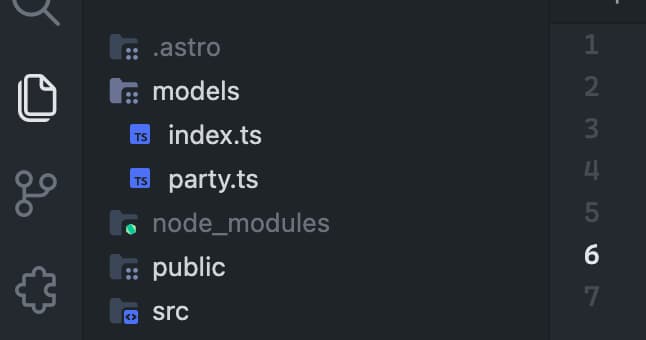
Additionally, we can see a new models directory created at the root of our project.
Lastly, we’ll create a connection to our database. This will serve as an easy way to interact with it from wherever we are in our application. Let’s create a lib/db.ts directory and add our code.
// lib/db.ts

import { Outerbase, OuterbaseConnection } from '@outerbase/sdk'

const connection: OuterbaseConnection = new OuterbaseConnection(
  YOUR_API_KEY
)
export const db = Outerbase(connection)
Querying our database
Now that setup is complete, navigate to your index.astro file where we’ll query our database. To start, we’ll import our database connection and create a variable we can map results from.
Notice we're importing the Party class type from our models file for further type safety.
// pages/index.astro

---
import { Party } from '../../models'
import { db } from '../lib/db'

const { data } = await db
  .selectFrom([
    {
      table: 'party',
      columns: ['id', 'name', 'food'],
    },
  ])
  .asClass(Party)
  .query()
---

<html lang="en">
  <head>
    <meta charset="utf-8" />
    <link rel="icon" type="image/svg+xml" href="/favicon.svg" />
    <meta name="viewport" content="width=device-width" />
    <meta name="generator" content={Astro.generator} />
    <title>Outerbase + Astro</title>
  </head>
  <body>
    <ul>
      {
        data.map((result: Party) => (
          <li>
            <p>{result.name}</p>
            <p>{result.food}</p>
          </li>
        ))
      }
    </ul>
  </body>
</html>
Next, let’s create a button with React that lets us add an entry. You’ll notice the Outerbase SDK syntax is built to be human-readable, making our function a simple one-liner.
// components/Button.tsx

import { db } from '../lib/db'

const insertEntry = () => {
  db.insert({ name: 'John', food: 'Freeze-dried Apples' }).into('party').query()
}

const Button = () => {
  return <button onClick={() => insertEntry()}>Add John</button>
}

export default Button
Now we can import that component into our index.astro file, and use it to insert a record into our database.
// pages/index.astro

---
import { Party } from '../../models'
import Button from '../components/Button'
import { db } from '../lib/db'

const { data } = await db
  .selectFrom([
    {
      table: 'party',
      columns: ['id', 'name', 'food'],
    },
  ])
  .asClass(Party)
  .query()
---

<html lang="en">
  <head>
    <meta charset="utf-8" />
    <link rel="icon" type="image/svg+xml" href="/favicon.svg" />
    <meta name="viewport" content="width=device-width" />
    <meta name="generator" content={Astro.generator} />
    <title>Outerbase + Astro</title>
  </head>
  <body>
    <ul>
      {
        data.map((result: Party) => (
          <li>
            <p>{result.name}</p>
            <p>{result.food}</p>
          </li>
        ))
      }
    </ul>
    <Button client:load />
  </body>
</html>
The finished result
While basic, our application gives a good feeling on how to work with the Outerbase SDK.

Check out the Outerbase SDK docs to get a better idea of how to create more complex interactions with your database.
Deploying our app
Now that we’ve built a server-side rendered Astro application with React and connected our Outerbase SQLite database, the only thing left to do is deploy.
First things first, be sure you’ve pushed up your app to a remote repository on Github. Once complete, navigate to Cloudflare, then Workers & Pages where we’ll create our application.
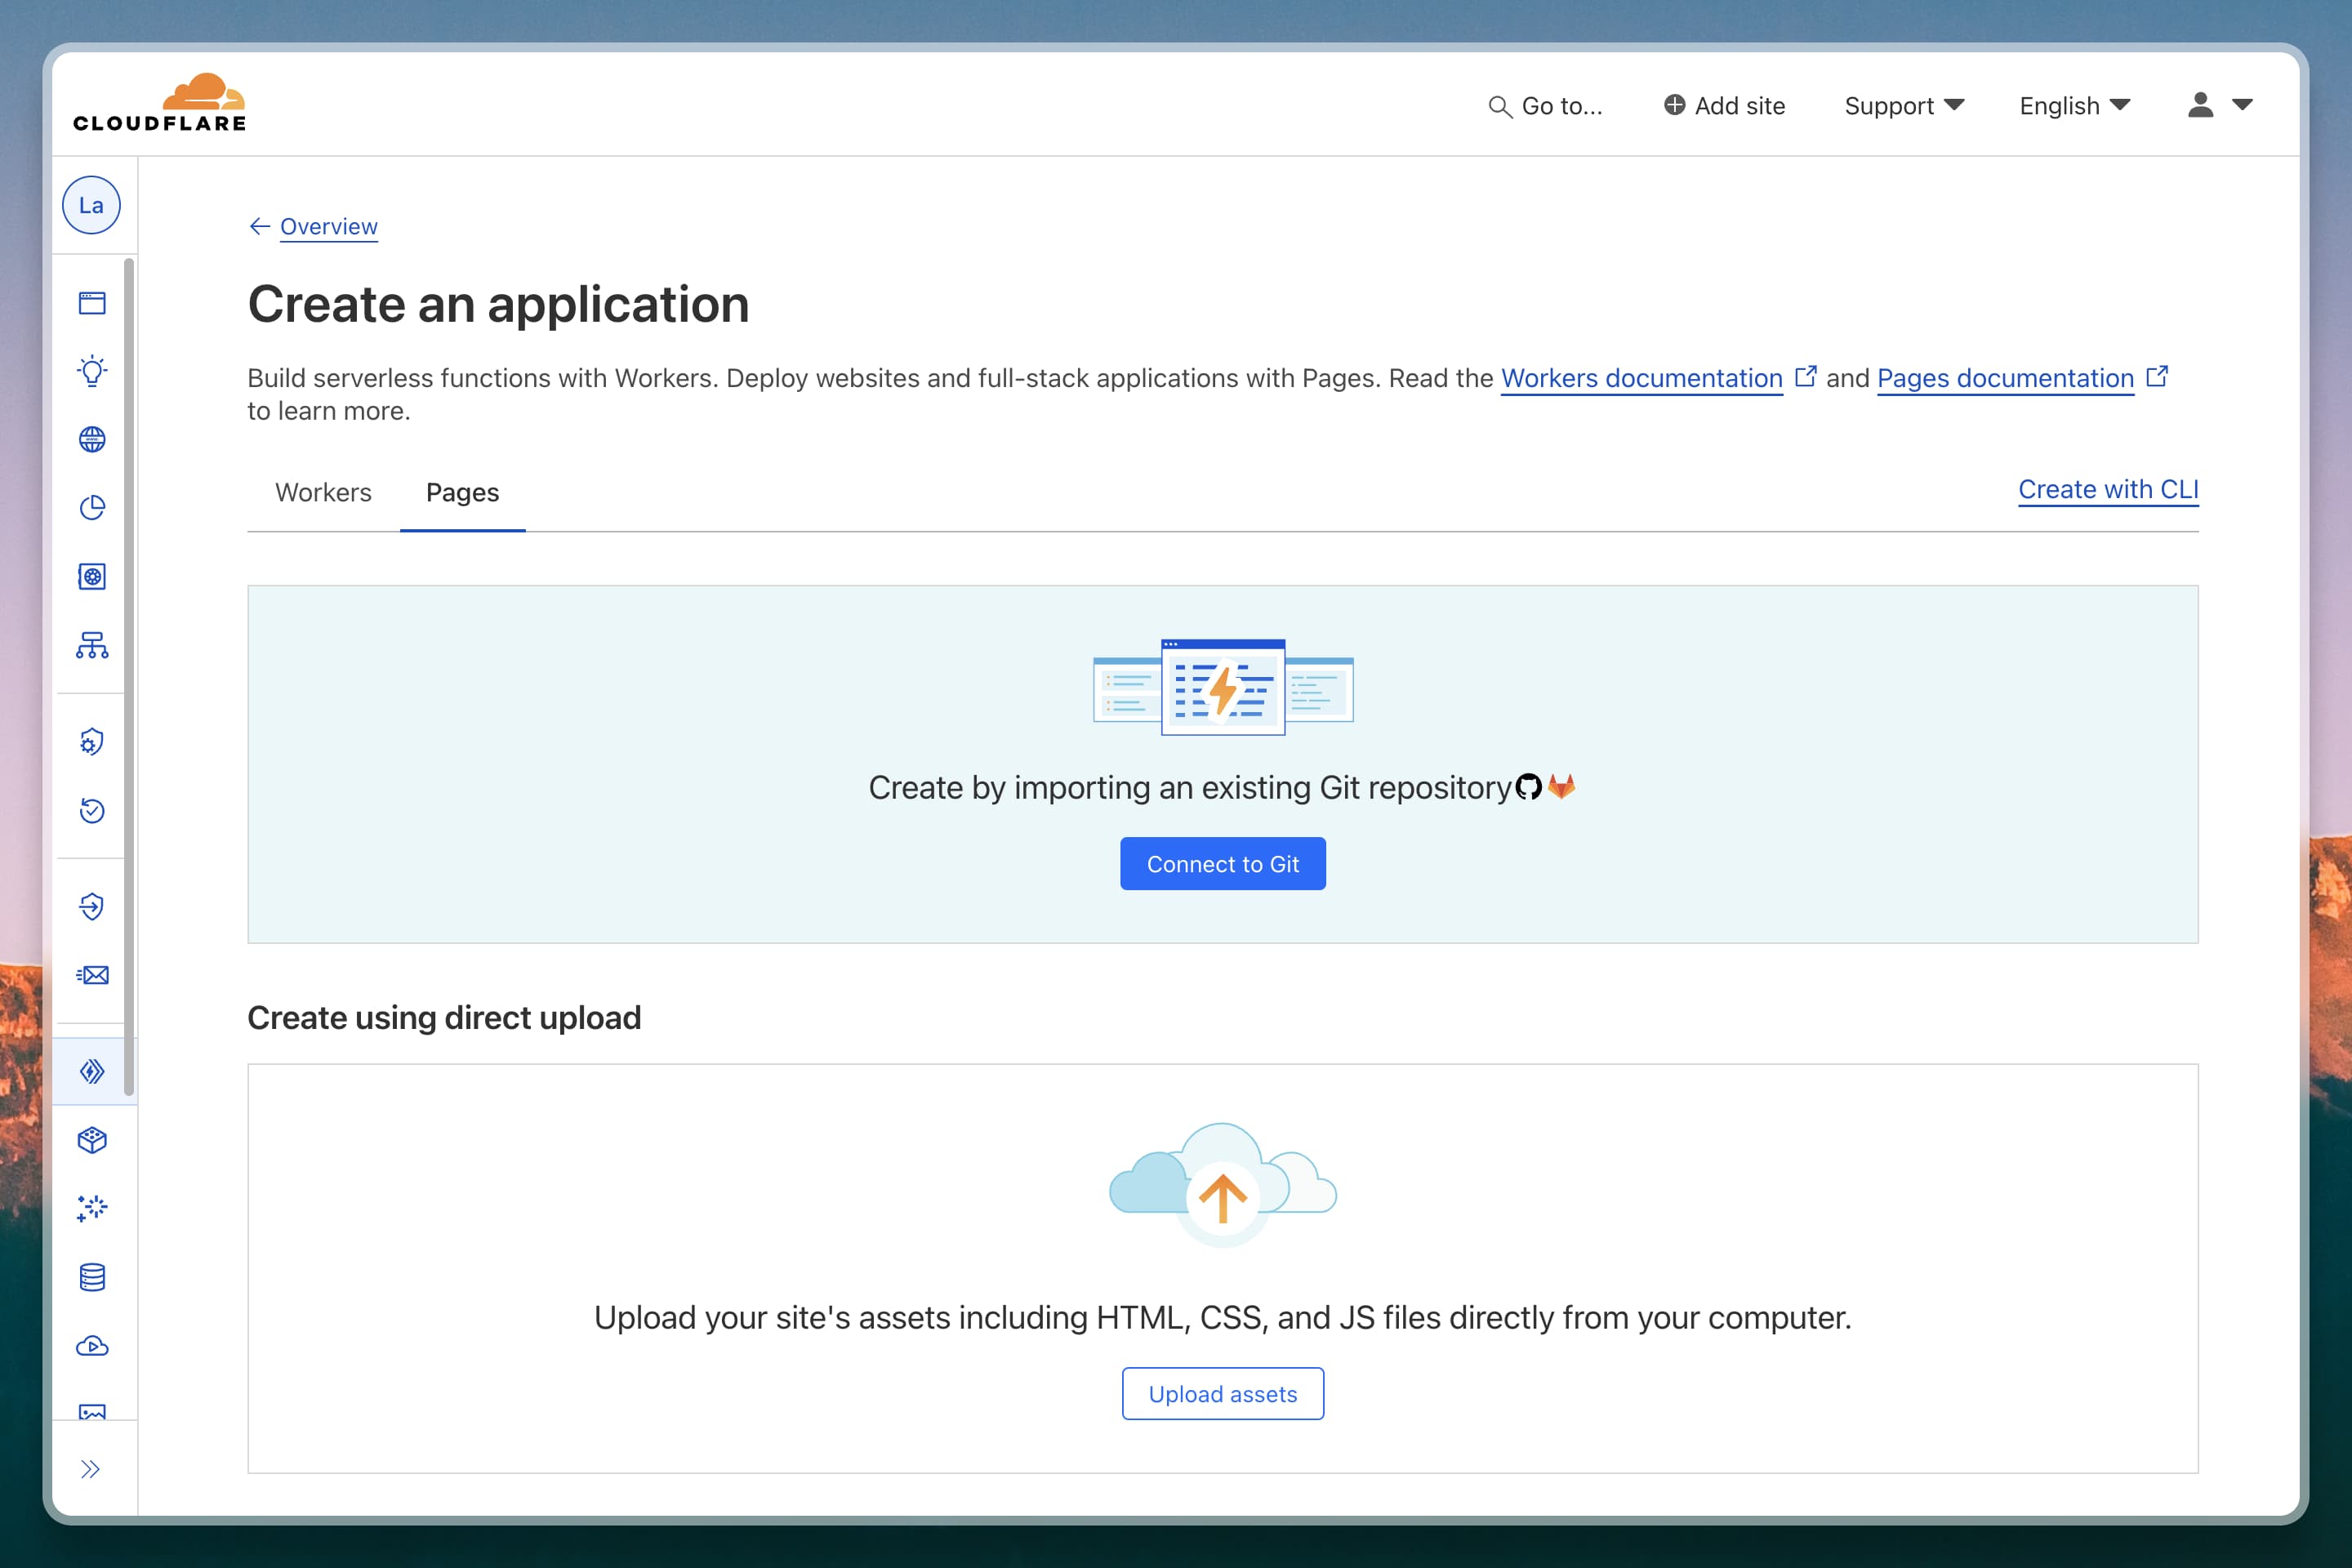
Simply connect your Github repo and walk through the setup wizard. Once complete, you’ll have successfully built a fully server-rendered Astro app with an Outerbase SQLite database.
If you’d like to reference a working example, here’s our sample repo with everything you’ll need to get started.
Good luck, and we’ll see you later, space cowboy.